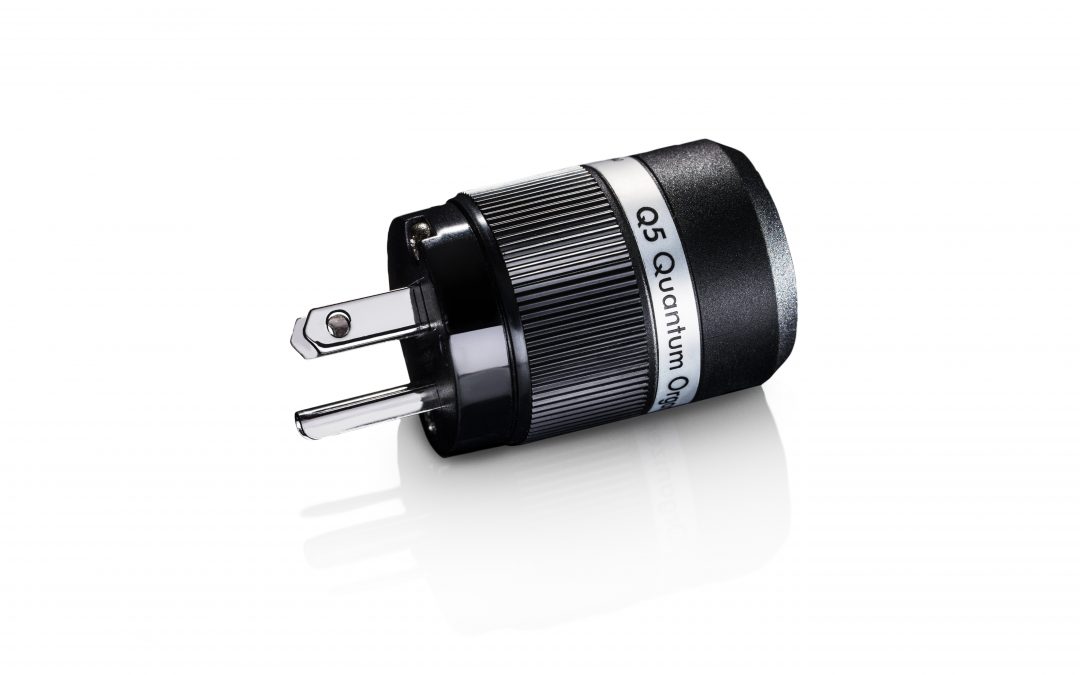
Q5
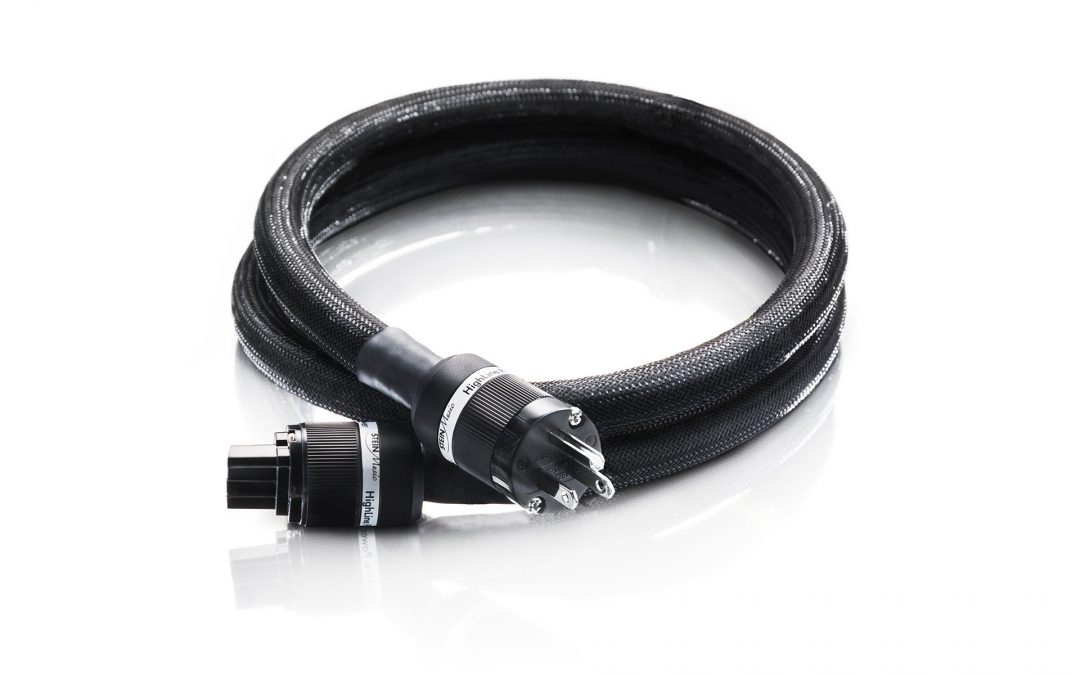
Q5 Plug Q5, how do they work? Q5 is a unique combination of electronic circuitry, mains purifier, quantum physics and crystal technology. All those parts in perfect interaction have a significant impact to the mains, which is the base for all the music a good audio...
E-Pads
E-Pads General Description Steinmusic E-pads are small self-adhesive elements 8mm by 15mm in size, which have a radical impact on the reproduction of music. E-pads operate at the level of molecular interaction producing profound and measurable changes to both the...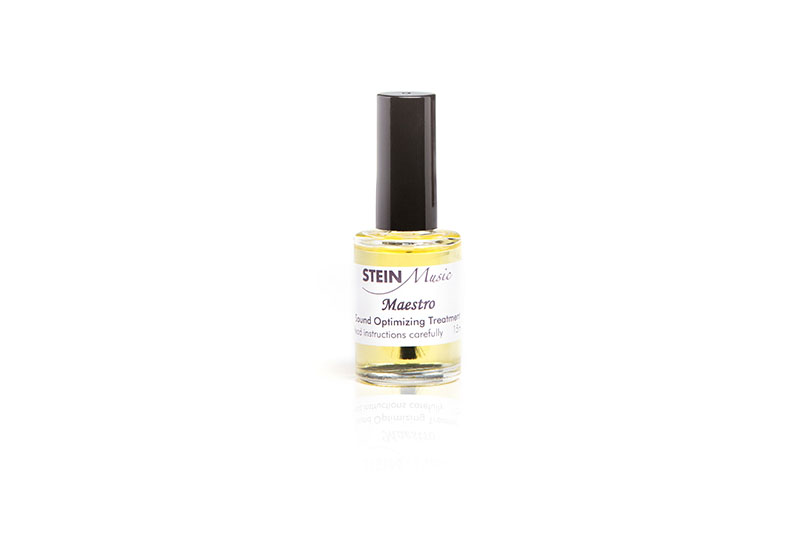
Maestro Laquer/CD-Plus/CCS
Maestro Laquer “Elevate Your Audio Experience with Maestro Lacquer: Unlocking Natural, Open, and Colorful Sound” Maestro lacquer is a unique surface treatment with resonance controlling properties. Use Maestro lacquer on speakers, cables and electronics...