Maestro Laquer
“Elevate Your Audio Experience with Maestro Lacquer: Unlocking Natural, Open, and Colorful Sound”
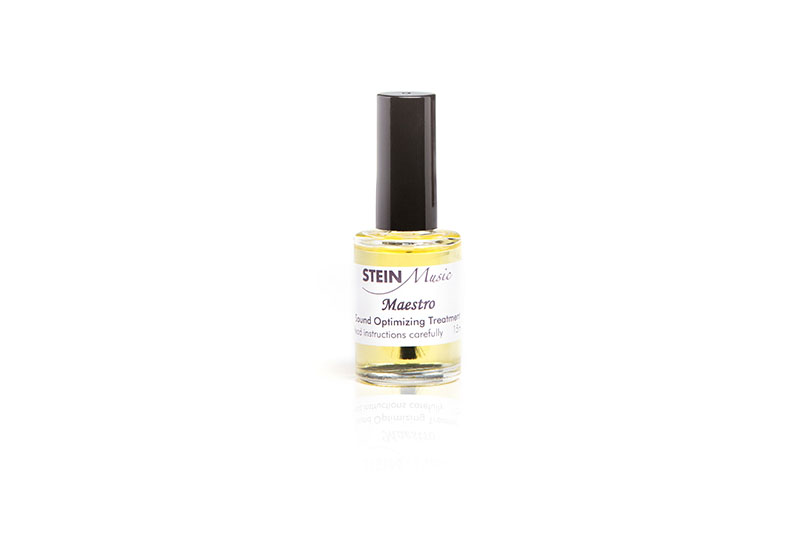
Maestro lacquer is a unique surface treatment with resonance controlling properties. Use Maestro lacquer on speakers, cables and electronics and the sound becomes more natural, open, fine and colorful.
Maestro Lacquer
Maestro lacquer is a natural resin lacquer with very special properties, optimized for coating loudspeaker cones and electronic devices for music reproduction. Mechanical resonances of any body are reflected at its interfaces. If you change the top layer by applying Maestro varnish, it is able to imprint its sound character on the coated part. Please note the fundamental difference to concepts that aim to achieve a better sound by damping: With damping, you can reduce the amplitude of an unwanted resonance, but you also always change the quality of this resonance peak, which thus becomes wider. This in turn makes itself quite unpleasantly noticeable acoustically.
Basic Idea:
How does Maestro lacquer work? Internal resonances of a mechanical part come to its surface, and there will be reflected into the material again. By changing the properties of the surface we may influence the resonances in a big amount. Sound always has a certain character that we detect as nasty or pleasant. Breaking glass for example is nothing really attractive, but everybody will like the sound of a good violin. We tuned Maestro consequently to those resonances which are regarded by the ear as pleasant. One might consider that doing this is far away from the idea of High Fidelity. But in fact the ear integrates those harmonic resonances, and does not regard them as something strange that does not belong to the music. So this kind of resonances is not able to affect the reproduction of music, but gives it a new level of freedom.
Maestro Laquer in practice
Maestro lacquer is a pure natural resin lacquer, with special optimized acoustic properties. It is produced in a complex process from the best raw materials, is non-conductive, fast drying, and easy to apply. Its consistency is such that in most cases you can use it directly as it is. Light moving parts, such as dome tweeters or foil speakers, should be painted only very thinly to avoid unnecessarily increasing the moving mass. In these cases, Maestro lacquer should be diluted 1:1 with mineral spirits, and only one coat applied. More solid parts require a thicker coat of varnish so that the effect of the varnish takes hold optimally. In principle, at least two coats of varnish should be applied here, whereby the first coat must be completely dry before the second is applied. This takes about half an hour at room temperature. Two things happen during curing: 1. the solvent evaporates.2. the coating polymerizes completely. This means that molecular chains are formed, whose structure is ultimately responsible for the resonance properties. The first process is already completed after about 15 minutes. You can put your device back into operation and already have a direct impression of the result. During the next 6 weeks, however, the properties of the coating will be completely transformed. During this time, the sound image will change significantly several times, not always for the better in the short term. After that, the properties stabilize at a very high sound level. In the following we describe how you should proceed in order to achieve the best results with the least possible effort. Painting the cabinets will bring you a good deal further, but due to their large mass, it is correspondingly more time-consuming and expensive. We recommend that you fill the amount of paint you expect to need into the screw cap of a fizzy drink bottle. From there it can be easily processed and diluted with spirit if necessary.
Show More Informations about the Maestro Laquer
Multi-way loudspeaker
Here, the cones are painted in the first place. Also those of the midrange and tweeter to achieve a positive overall sound character. The entire diaphragm should be painted from the visible side, including the dust cap (the cover of the voice coil in the center) but without the surround (the moving edge). Diaphragms made of polypropylene or metal should be painted twice thinly. The same applies to coated cardboard cones . On the other hand, woofers and midrange drivers made of open-pore paper are quite thirsty. Here you will need a somewhat larger amount of Maestro varnish. Dome tweeters should be varnished with a mixture of one part varnish and one part spirit. This only once thinly, in order not to increase the diaphragm mass unnecessarily. For this you should use the small brush from the bottle, and be careful to really only apply a thin layer. The bead should also be omitted here. It is the outer curved part of the membrane. On ring radiators like those made by Vifa and Scan Speak, the surround is much wider. It should be painted as well, since it is part of the diaphragm.
Full range loudspeaker
Speaker drivers with very light paper cones and high efficiency, such as Lowther, Fostex, Supravox or are not necessarily always candidates for further coating. If they are, they should be treated like tweeters to avoid unnecessarily increasing the diaphragm mass. Here it is necessary to find a reasonable middle ground between the positive sound characteristics that a coating with Maestro achieves and the “dynamic brake” of a higher diaphragm weight.
Foil loudspeaker and horn driver
In the meantime, foil speakers such as Magneplanar as well as horn drivers have also been coated with outstanding results. Here, too, the coating thickness should be very low.
Turntables
Another element in a HiFi system that directly involves mechanics is the turntable.varnishing of tonearm, platter and platter mat. Because of its large mass, the platter should be painted thickly and on both sides, while the platter mat and tonearm should be painted in two coats as usual. Extreme care should be taken with the system body to prevent paint from running into the system and gumming up the mechanics. The safest method here is to unscrew the headshell and paint with the needle pointing up. Headshell and connecting cable should be painted as well, without wetting the plug contacts. Painting a system is not witchcraft, but it does require some dexterity. And if you are unsure, it is better to do without the last little things before you destroy something.
Microphones
Microphone housings also thank you for being painted. Here it looks like the extremely low mass of the actual diaphragm is permanently influenced by the resonance behavior of the housing, which is several dimensions heavier. Painting the diaphragm itself razor-thin is likely to be a hopeless endeavor that we cannot recommend. Electronic devices such as CD players, converters, pre- and power amplifiers, tuners and cassette decks or laser disc players
Please note:
Intervening in complex electronic devices should not be done without a basic knowledge of the internal relationships. Mains voltage can be life-threatening, and even if you have disconnected the mains plug, which is an absolute prerequisite for intervening in a device, capacitors in the device itself may still be charged. Therefore: Start such a project only if you know exactly what you are doing. Any intervention is at your own risk! If you are unsure, better leave this work to a dealer you trust or to us.
How to use Maestro lacquer
For electronic devices, the complete circuit board including all components should be painted. Plug contacts, open potentiometers, switches and all kinds of moving components that can stick together and then no longer function should not be painted. Components that get warm and need to dissipate their heat, as well as their heat sinks, should also not be painted. This also applies to tubes. PCBs in SMD technology are also grateful objects for a coating with Maestro lacquer. But even here there are components that get warm and have to dissipate their heat. These should be left out as far as possible to avoid heat accumulation. With a CD player, it also helps enormously to coat the drive as well. Please be careful not to get any splashes or fumes on the laser optics. You should mask these carefully beforehand. And, of course, make sure that no moving parts of the drive and carriage are glued. Please also try painting a CD on the label side. The effect is extraordinary, and especially very good to demonstrate if you have two identical CDs, one of which is not treated. Here you get the best results with
Contact Clear System
“Elevate Your Audio Experience with Maestro Lacquer: Unlocking Natural, Open, and Colorful Sound”
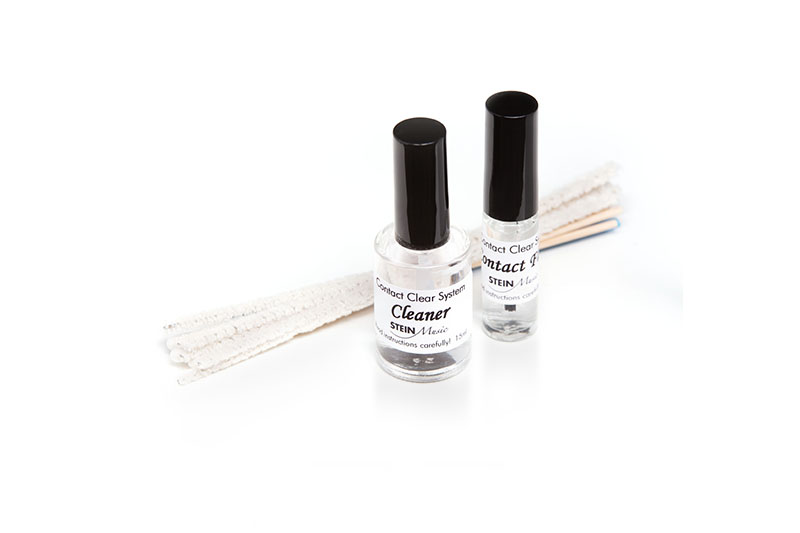
Steinmusic Contact Clear is a system for cleaning and stabilizing contact transitions. It improves the transmission qualities of audio and video signals to an unimagined degree.
Contact Clear
Steinmusic Contact Clear is a system to clean and stabilize contact points. It improves the transfer characteristics of audio and video signals to a degree previously unimagined.
Application
Clean contacts thoroughly with Cleaner. Dry them with a normal kitchen rag. After the contacts are completely dry, apply a thin coat of Steinmusic Contact Fluid evenly with the brush in the bottle. Steinmusic Contact Fluid should be applied to all contacts in a system, including the plugs on cartridges, all RCA connectors, and speaker terminals. Also the use on power connectors, digital cables, video and antenna cables is highly recommended.
Application and Effects of Steinmusic Contact Fluid in Detail
The problem with all contact surfaces is that the entire surfaces are never in contact with each other. This causes undue resistance, which in turn causes distortion of the signal. If a layer of grime is on the contact surfaces, they may begin to act like semiconductors. That is why a thorough cleaning is necessary. However, cleaning alone does not solve the problem of ill-fitting contact surfaces. This is where Steinmusic Contact Fluid comes into play. It insulates all areas that do not have perfect contact. The result is a more natural sound, or „cleaner“ picture in video systems. Tip: try Steinmusic Contact Clear on the plugs of your computer monitors. The result is immediately visible.
Show More informations about the Contact Clear System
Lifespan
Steinmusic Contact Fluid remains stable over time, even at temperatures of 300°C. However, plugs should be cleaned and retreated every 12 months. Tube pins should be retreated every ten months.
Caution
The cleaner is inflammable. Steinmusic Contact Fluid is inert, but may not be heated above 350°C, as that would cause it to release toxic gases. For this reason, keep it away from tobacco. Never work on units that are turned on.
Tubes
Steinmusic Contact Clear is also ideally suited for use on tube contacts due to its excellent temperature stability. When handling high voltages, please observe the hazard information of the device manufacturer. Basically, you should only lightly coat the tube pins with Steinmusic Contact Fluid, but do not treat the sockets. In case of doubt, please consult your specialist dealer.
Cd-Plus
“Elevate Your Audio Experience with Maestro Lacquer: Unlocking Natural, Open, and Colorful Sound”
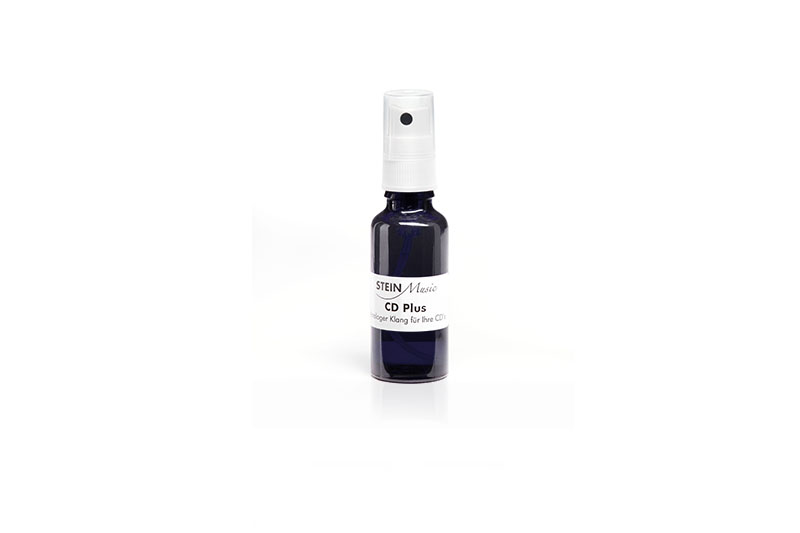
CD Plus is a special lotion to improve the properties of all disks like CDs, DVDs and Blue Ray disks. It removes residues from form release agents that are used during production, applies an antireflection coating which makes it easier for the laser to read the disk properly and reduces antistatic.
How to use CD-Plus
Apply CD Plus on the label side of the CD, pressing the dispenser once. Dispense the amount of CD Plus applied to the surface uniformly with a fingertip. Do the same with the other side of the disk, so that both sides are treated. Then wipe away the residual CD Plus with a facial tissue. Facial tissues should be used in this case as they are much softer than most other tissues, and will not scratch the surface. Doing this procedure once with a disk will give a significant improvement as music will be played much more natural, relaxed and expressive due to reduced distortions. Repeating this complete procedure a second time will further improve the performance. The result is long term stable, and we suggest marking the treated disk with a waterproof pen, so that you know they are already treated.


